Recommended Yarn – Stylecraft Special DK (100% Acrylic, 100g/295m)
- Raspberry
- Contrasting colour yarn for the nose and mouth.
Tension: Tension is not critical for this project, but it may affect the yarn quantities required.
Equipment
- A 3mm hook
- Toy Stuffing
- Stitch Marker
- Sewing Needle
- Scissors
- Safety Eyes: 10 mm (optional)
Abbreviations
- ch- chain
- dc – Double Crochet
- dc2tog – Double crochet two stitches together
- ss – slip stitch
Level: Easy
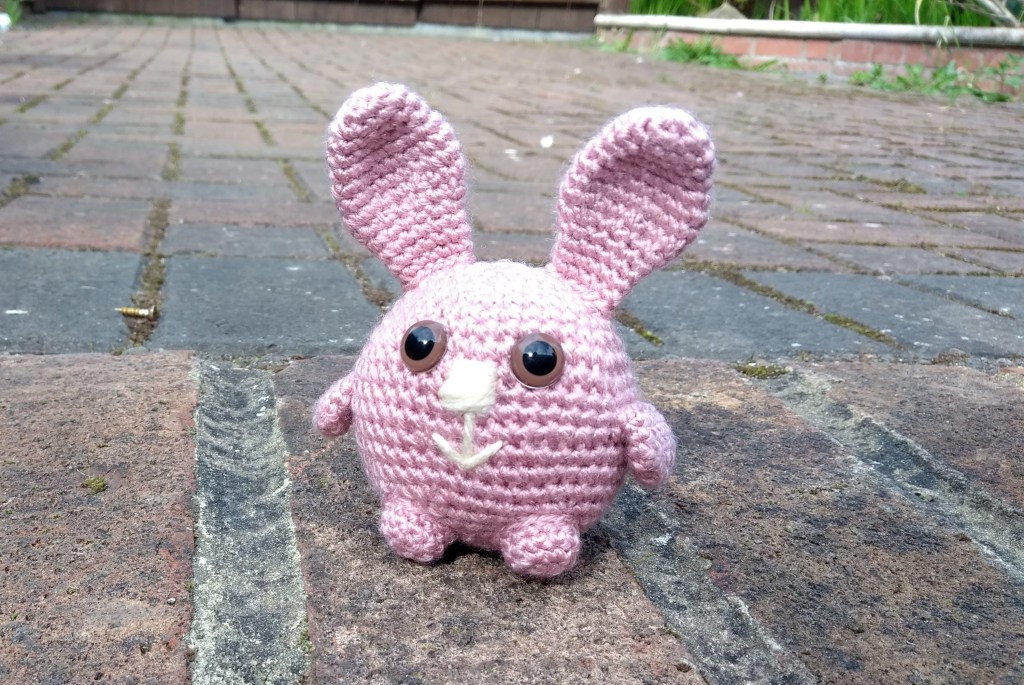
Measurements: Bubble Bunny measures 8cm tall
Notes
- This pattern is written using UK crochet terminology.
- This pattern is worked using the amigurumi method. Work stitches continuously in a spiral without closing off each round with a slip stitch. You may find it easier to mark the first stitch of the round, moving the marker up as you work.
- Rounded brackets ( ) indicate the pattern and the number of times it is repeated. For example, (Dc in next sts, 2dc in next st) 6 times. This means double crochet one stitch, increase by double crocheting in the next stitch twice. This instruction should be repeated 6 times.
- Square brackets [ ] indicate the number of stitches you have after each round/row.
Decreasing rounds: You may prefer to use an invisible decrease, this technique will give your finished creation a neater appearance.
- To do this insert your hook into the front loop of the first stitch, then insert your hook into the front loop of the second stitch.
- Yarn over hook and pull through the first 2 loops on your hook.
- Yarn over hook and pull through the remaining 2 loops on your hook to complete the stitch.
If you would like a printable version of this pattern you can download it for free from –Lovecrafts
Body
Make a magic loop
Round 1 (RS) Ch1 (does not count as a st throughout) 8dc into loop. [8 sts]
Round 2 2dc in each st around. [16 sts]
Round 3 (Dc in next st, 2dc in next st) 8 times. [24 sts]
Round 4 Dc in each st around.
Round 5 (Dc in next 3 sts, 2dc in next st) 6 times. [30 sts]
Round 6 (Dc in next 4 sts, 2dc in next st) 6 times. [36 sts]
Round 7 Dc in each st around.
Round 8 (Dc in next 5 sts, 2dc in next st) 6 times. [42 sts]
Round 9 (Dc in next 6 sts, 2dc in next st) 6 times. [48 sts]
Round 10 – 16 Dc in each st around.
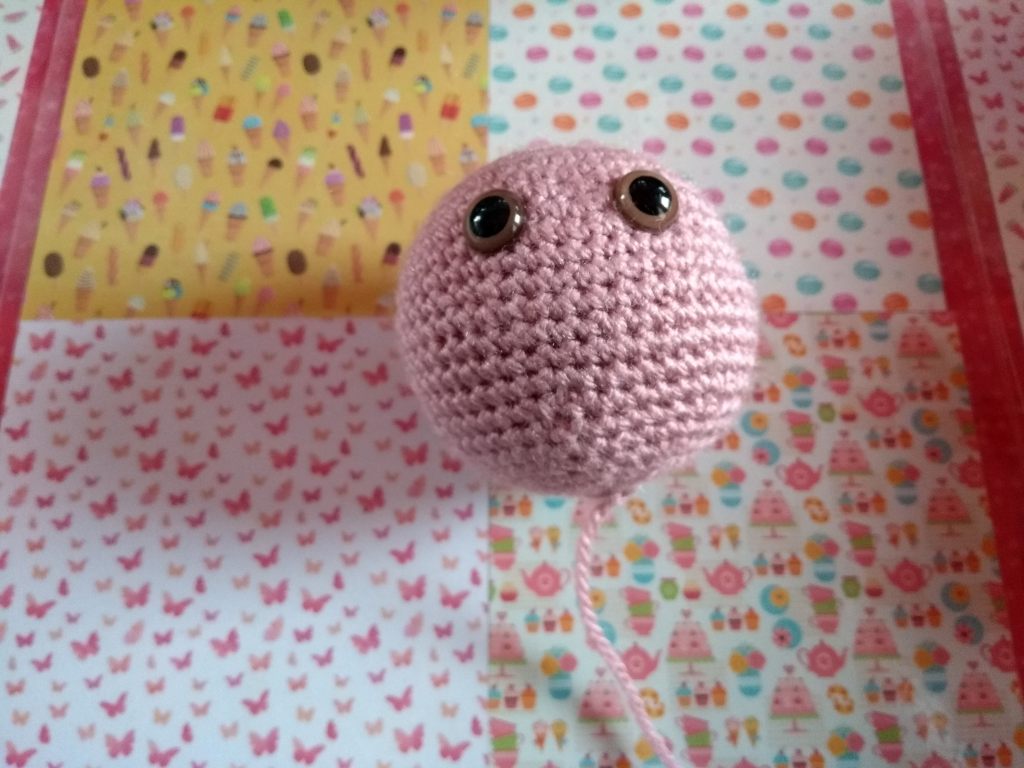
Place safety eyes between round 9/10.
Round 17 (Dc in next 6 sts, dc2tog) 6 times. [42 sts]
Round 18 (Dc in next 5 sts, dc2tog) 6 times. [36 sts]
Round 19 Dc in each st around
Round 20 (Dc in next 4 sts, dc2tog) 6 times. [30 sts]
Round 21 (Dc in next 3 sts, dc2tog) 6 times. [24 sts]
Round 22 Dc in each st around.
Round 23 (Dc in next st, dc2tog) 8 times. [16 sts]
Stuff the body.
Round 24 (Dc2tog) 8 times. [8 sts]
Fasten off and weave in ends.
Ears (make 2)
Make a magic loop
Round 1 (RS) Ch 1 (does not count as a stitch throughout), 7dc into loop. [7 sts]
Round 2 2dc in each st around. [14 sts]
Round 3 – 5 Dc in each st around.
Round 6 (Dc in next st, 2dc in next st) 7 times. [21 sts]
Round 7 Dc in each st around [21 sts]
Round 8 (Dc in next 6 sts, 2dc in next st) 3 times. [24 sts]
Round 9 (Dc in next 2 sts, dc2tog) 6 times. [18 sts]
Round 10 (Dc in next st, dc2tog) 6 times. [12 sts]
Round 11 – 13 Dc in each st around.
Fasten off leaving a long tail to stitch the ears to the body.
Arms (make 2)
Make a magic loop
Round 1 (RS) Ch1 (does not count as a st throughout) 6dc into loop. [6 sts]
Round 2 2dc in each st around. [12 sts]
]Round 3 – 5 Dc in each st around.
Fasten off leaving a long tail to stitch the arms to the body.
Legs (make 2)
Make a magic loop
Round 1 (RS) Ch1 (does not count as a st throughout) 6dc into loop. [6 sts]
Round 2 2dc in each st around. [12 sts]
Round 3 – 4 Dc in each st around.
Fasten off leaving a long tail to stitch the legs to the body.

To Assemble Rosa Bubble Bunny
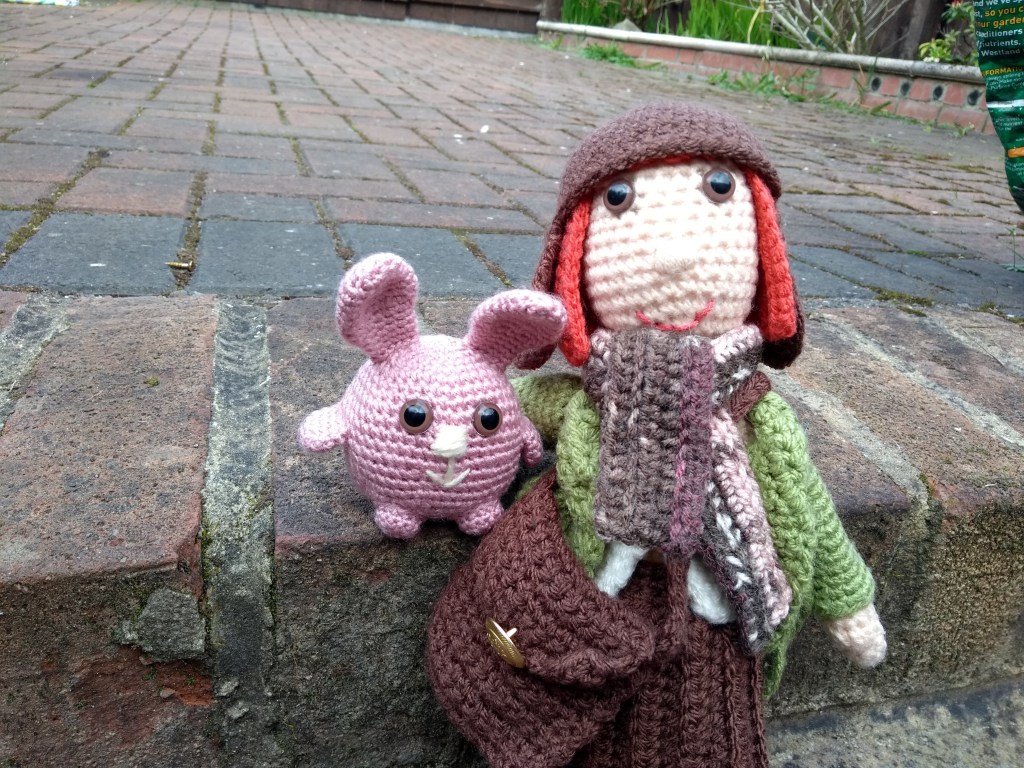
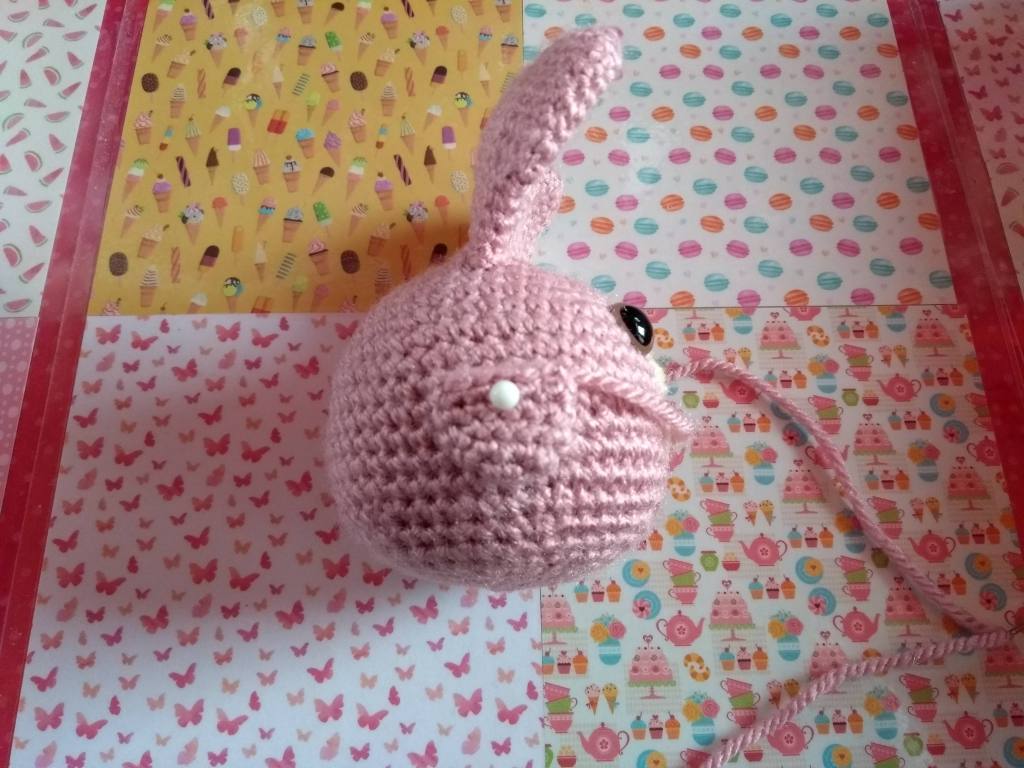
- Pictures are provided as a guide to help you position the ears, arms and legs.
- The body is worked from top to bottom, rounds are counted from top to bottom when placing eyes and arms.
- Place safety eyes between round 9/10 of the body.
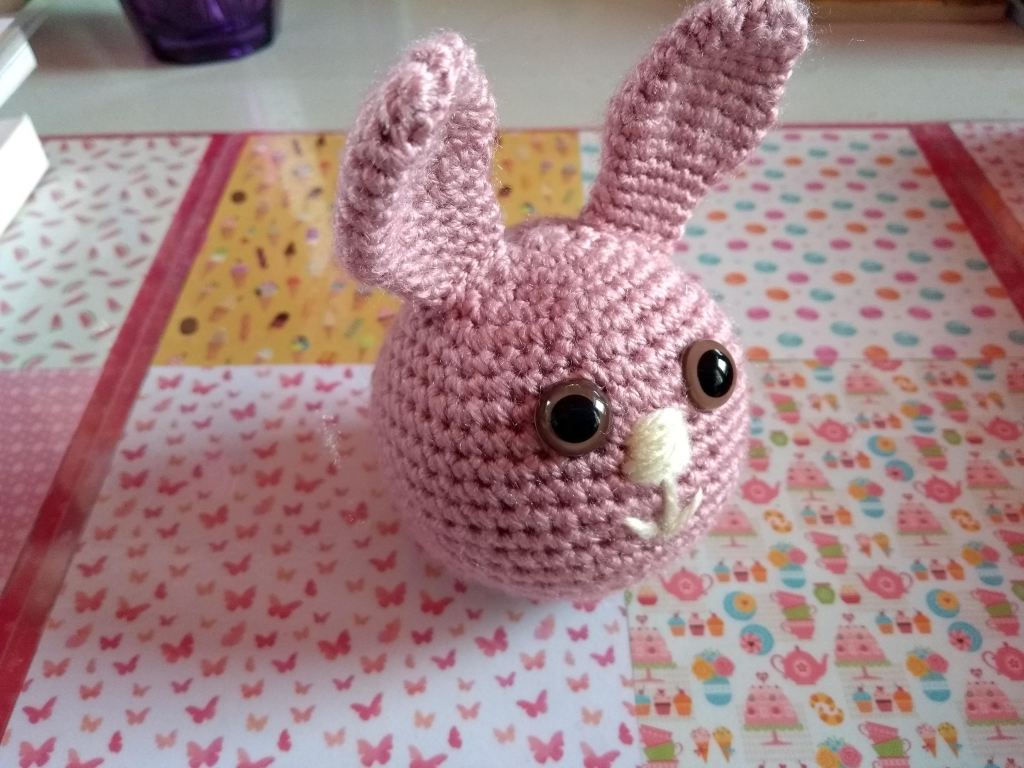
- Fold ears so they are flat, stitch the seam together and stitch to the body, use the photos as a guide for positioning the ears to the body.
- Do not stuff the arms, fold them so they are flat and stitch between Round 13/14 of the body.
- Stuff the legs before stitching, pin them in place and stitch around the outside of the leg, firmly securing them to the body of the bunny.

I hope you have great fun crocheting Rosa Bubble Bunny and that you find lots of joyful moments along the way. If you have any questions about the pattern leave a comment or send me an email. I’m always happy to help.
I would love to see your makes, tag me on social media using these hashtags.
- #pixieandbumble
- #isleofneverwas
- #SamanthaOsmond

Leave a comment