
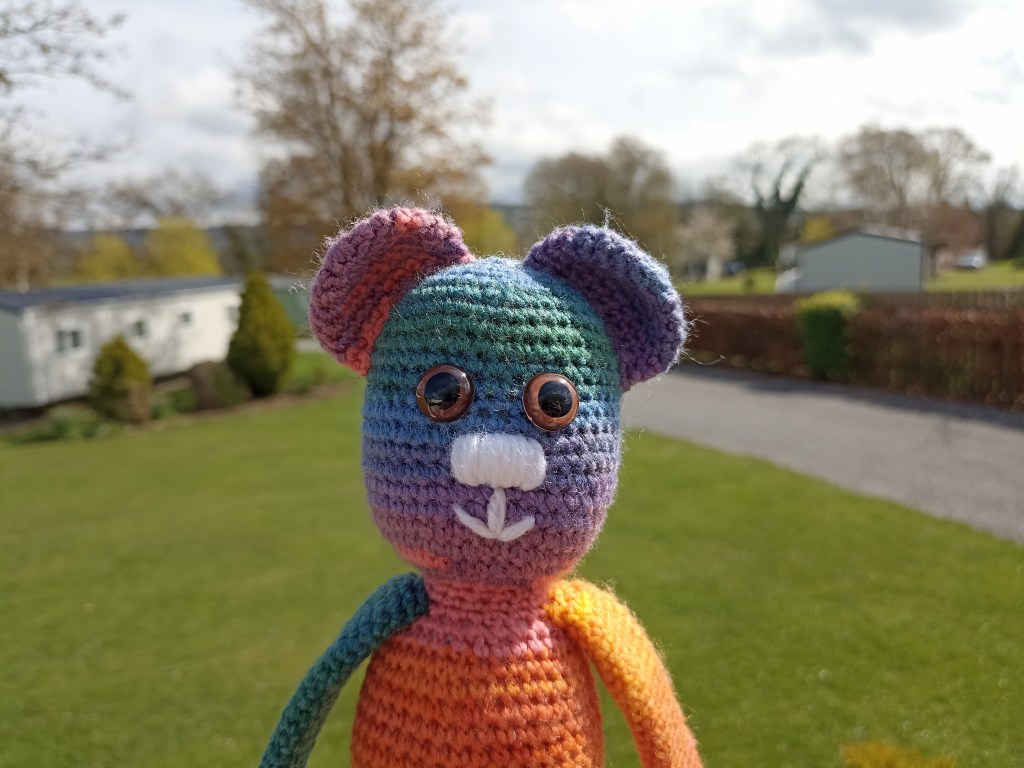
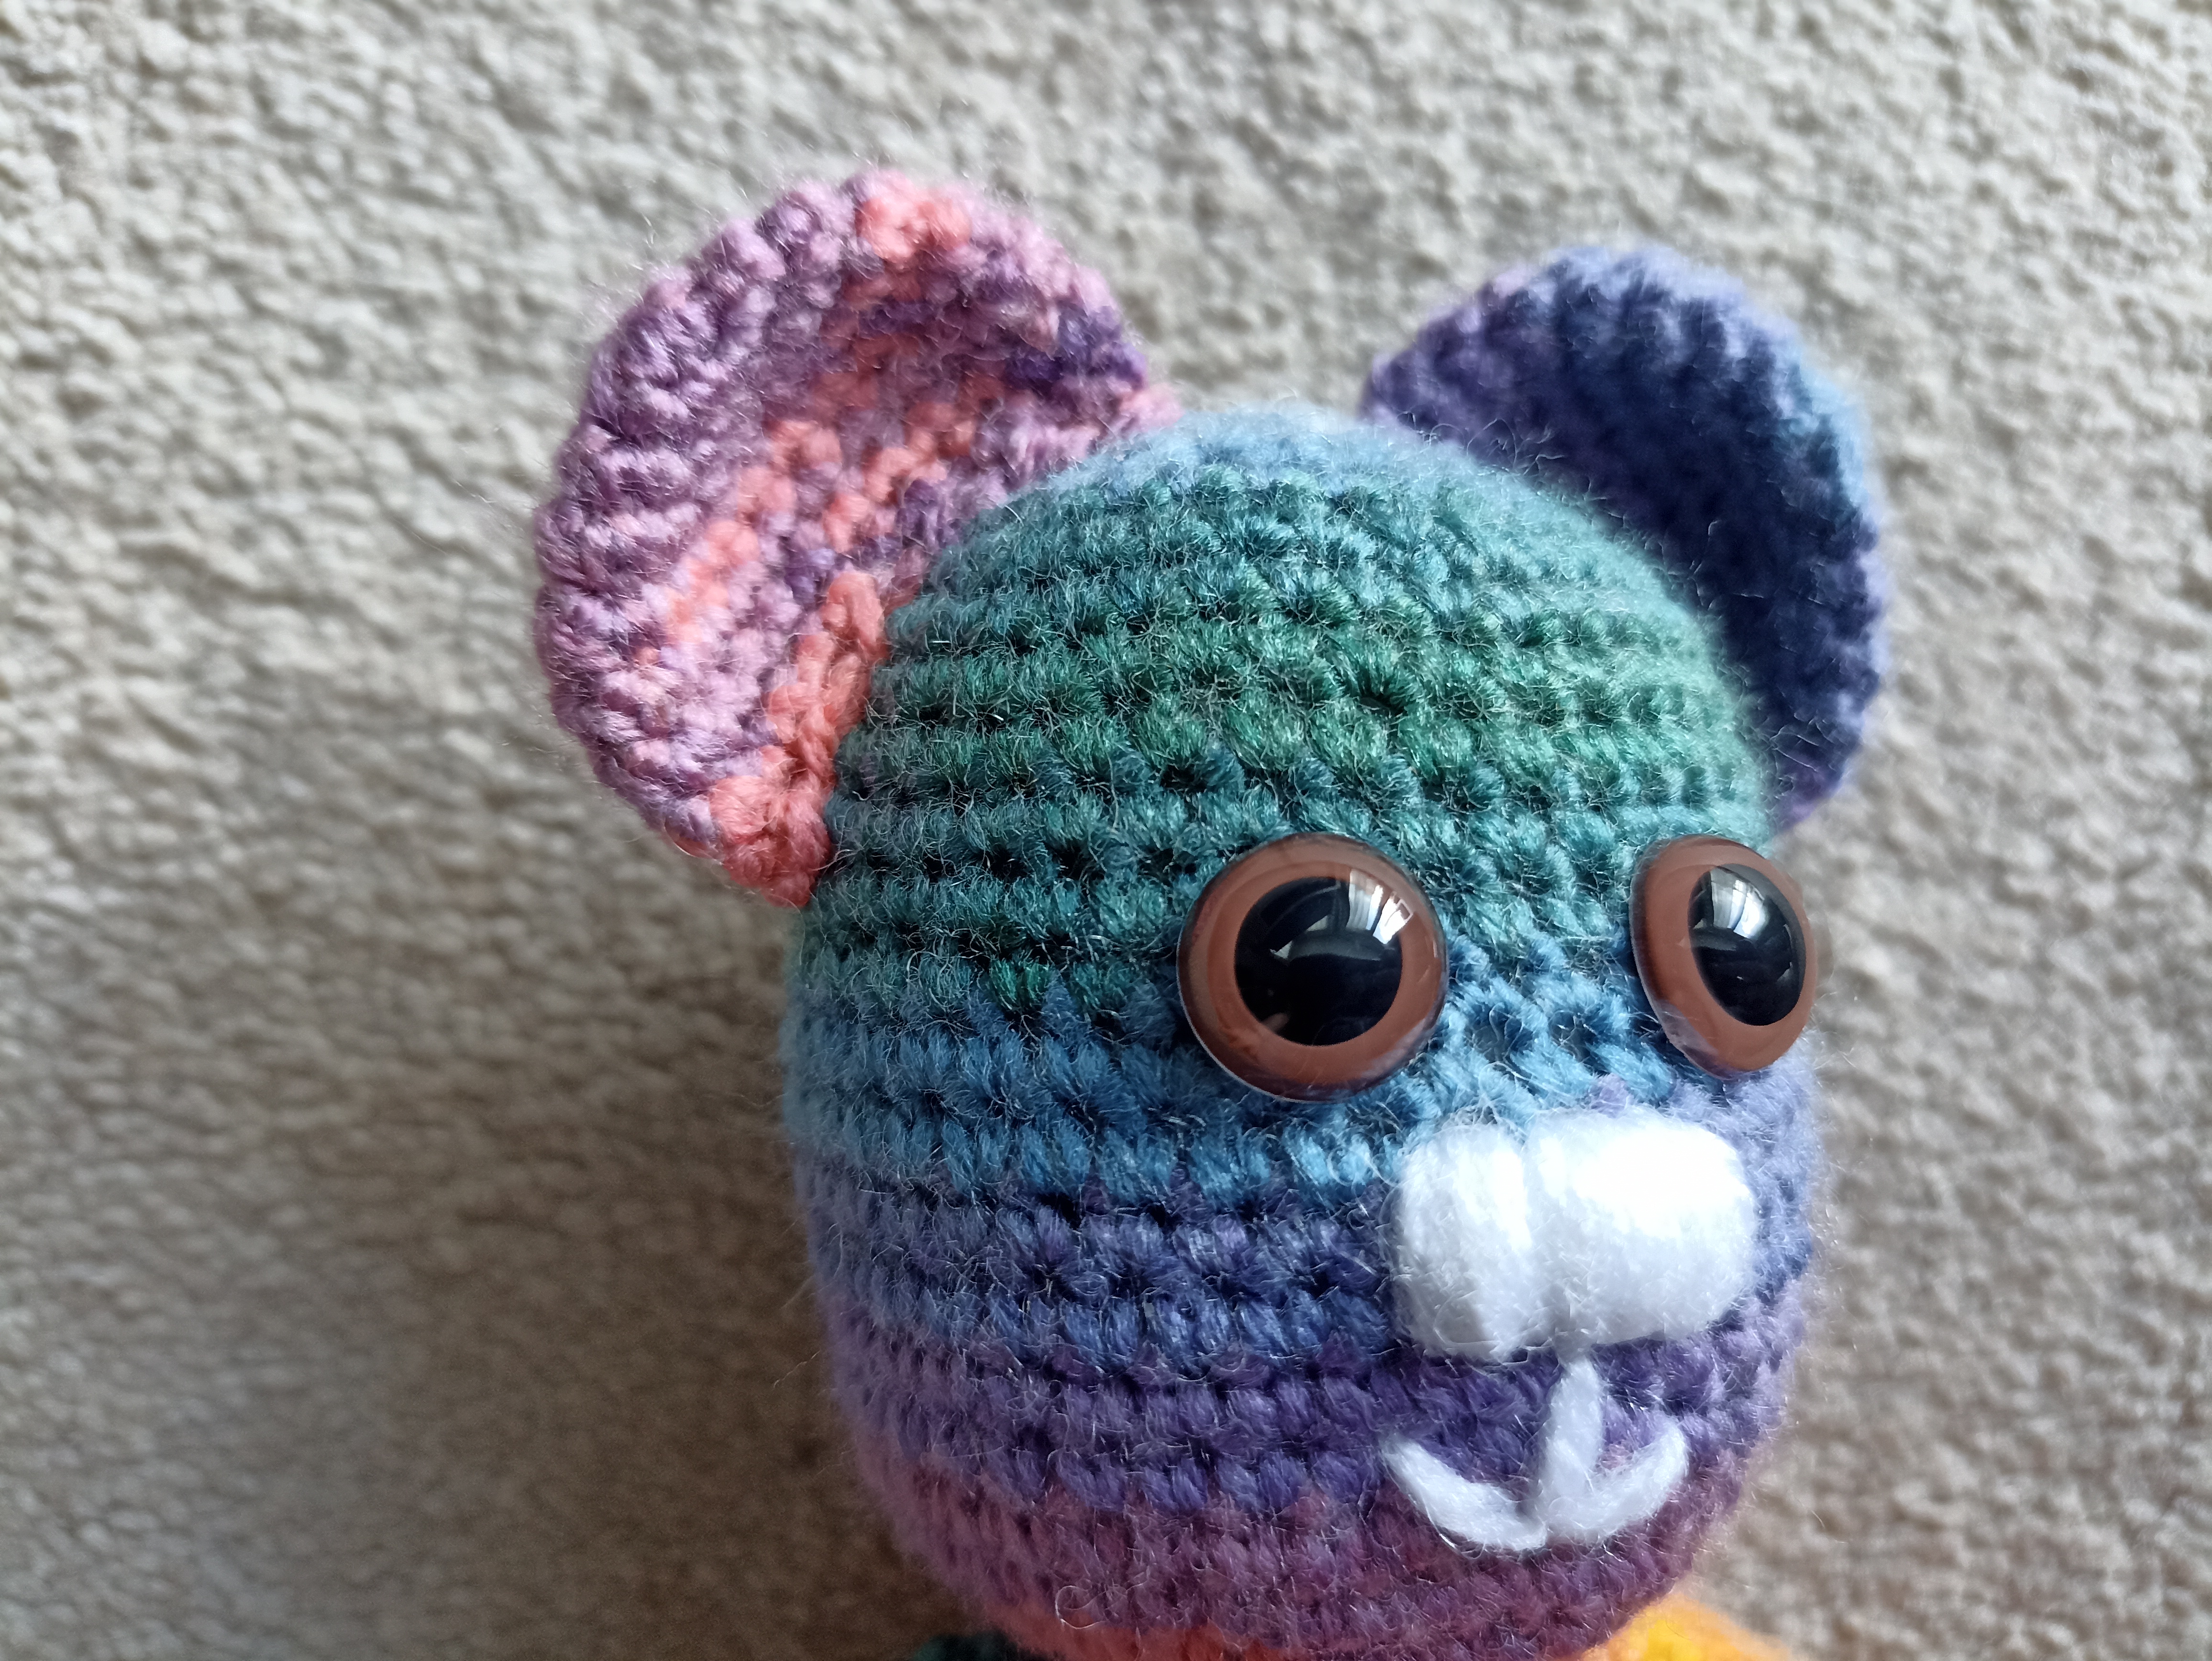
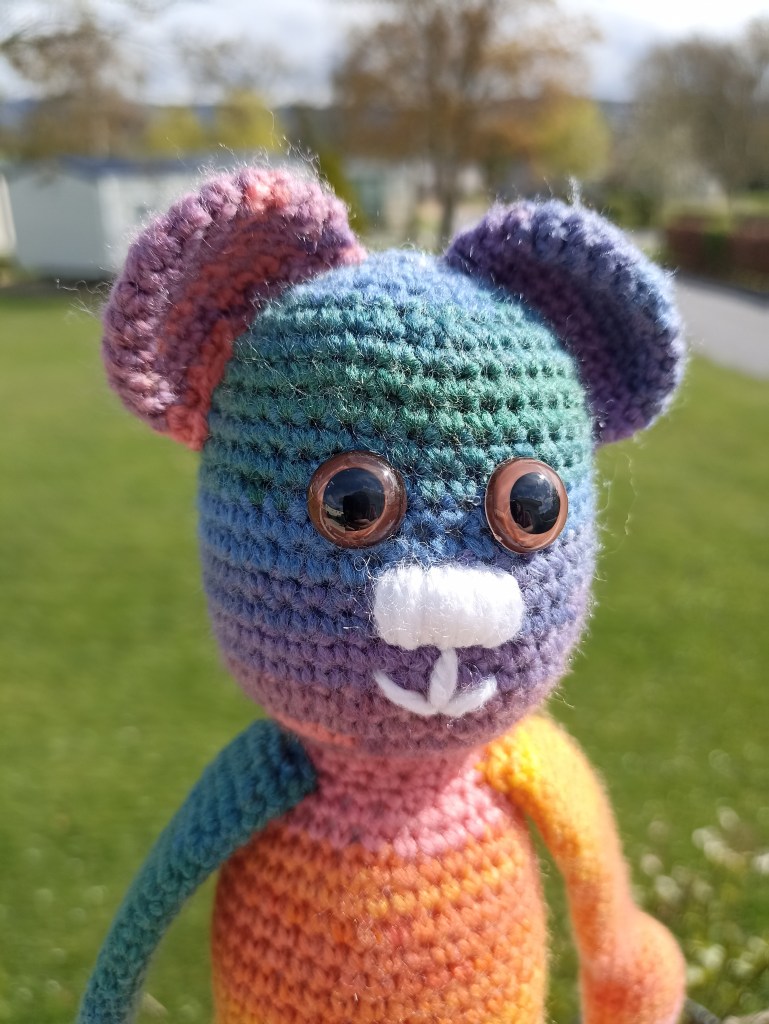
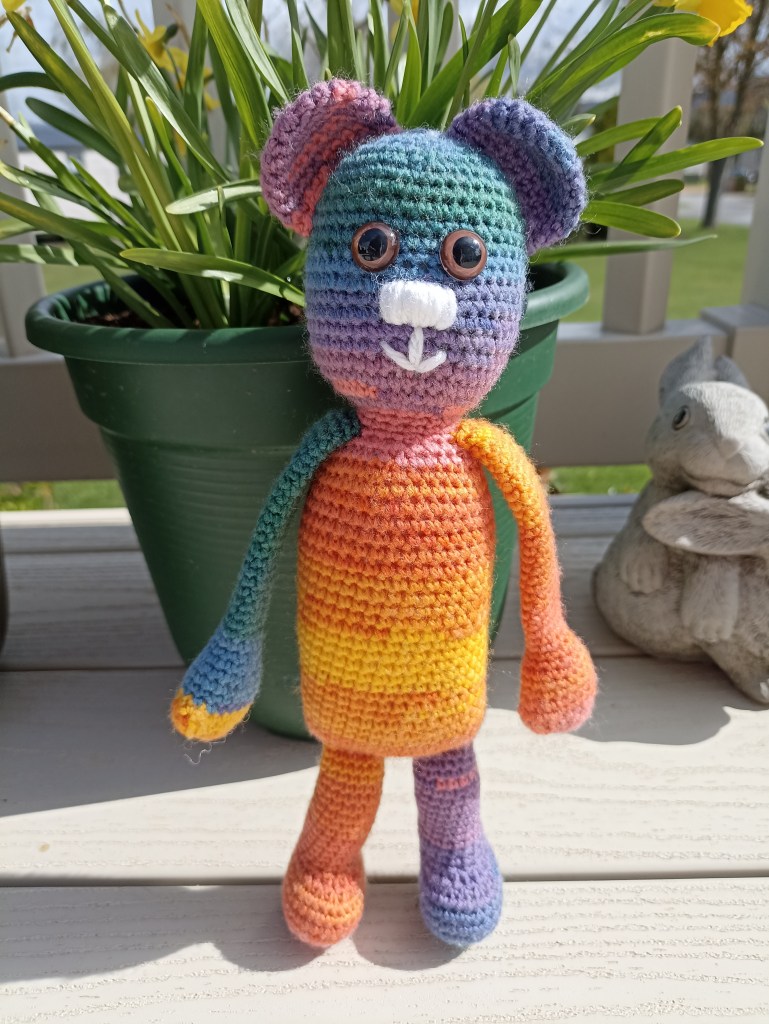
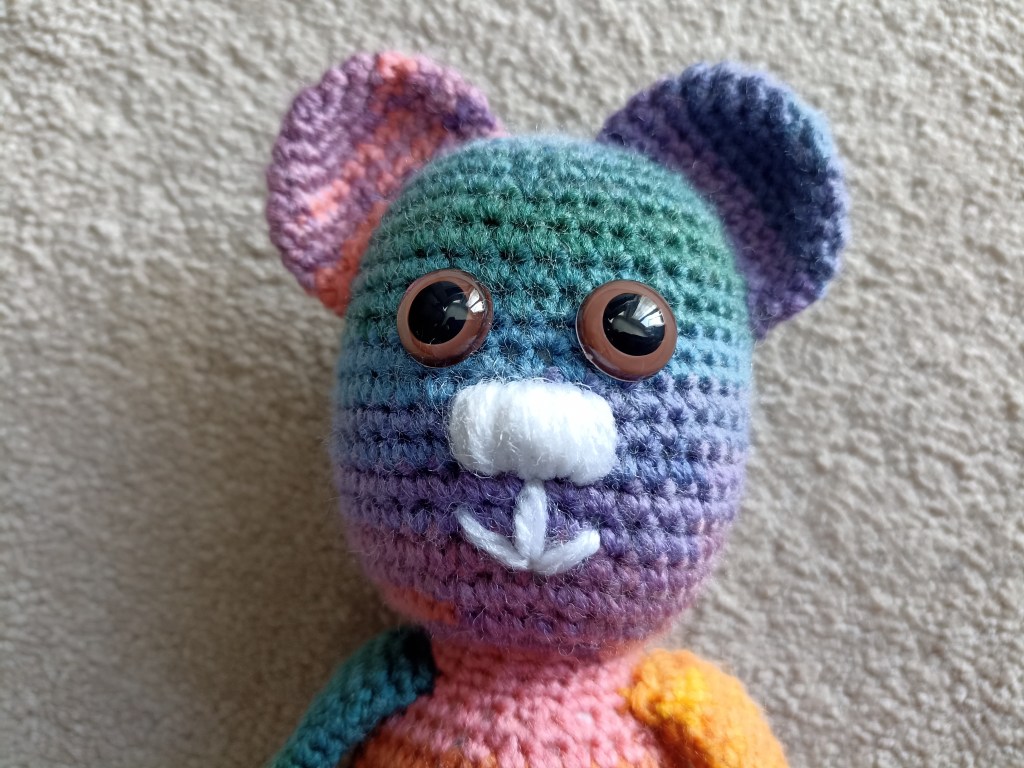
Bright Bear is a colourful character, he is curious about the world around him. Bright Bear loves to explore, especially outside, he follows his curiosity wherever it takes him. He is also endlessly creative. Inspired by his adventures he loves to draw and paint.
Recommended yarn:
Sirdar Hayfield Spirit DK (20% Wool, 80% Acrylic, 100g/345m)
- Zest (shade 400)
Tension: Tension is not critical for this project but it may affect the yarn quantities required.
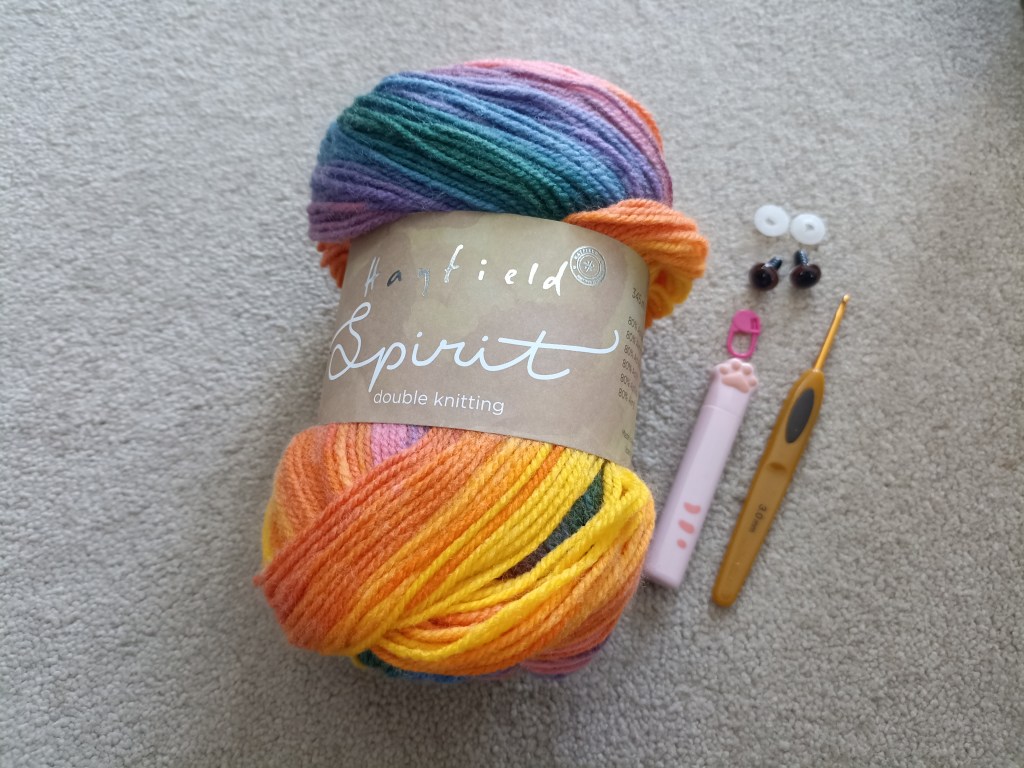
Equipment:
- A 3 mm hook
- Toy stuffing
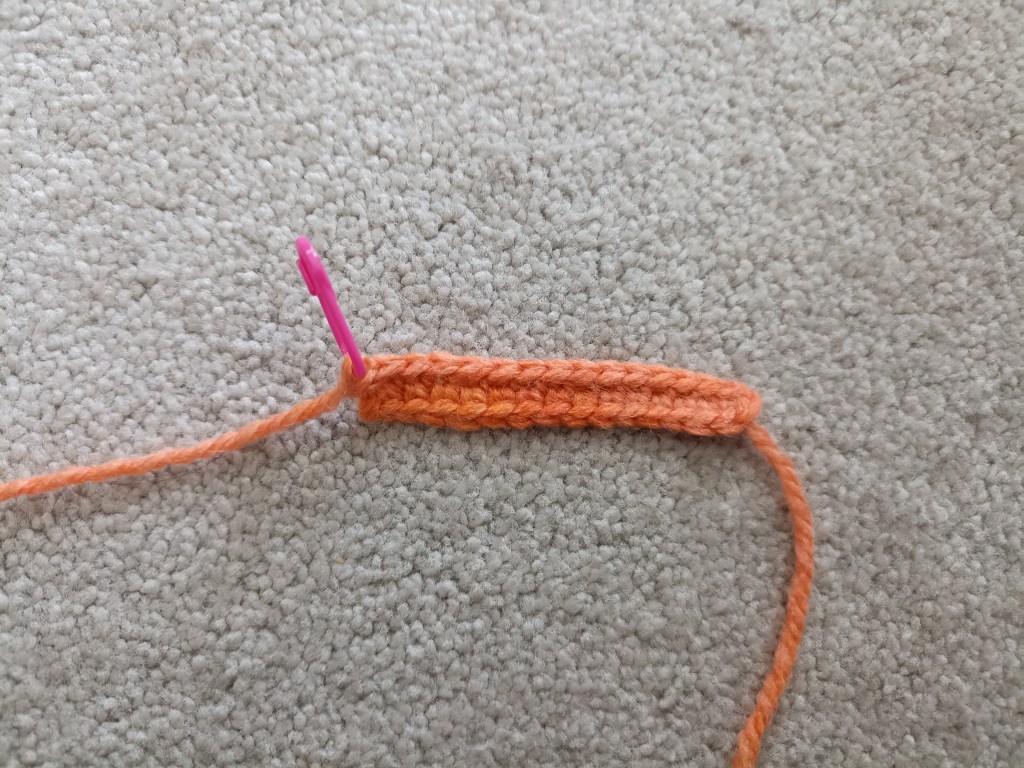
- Stitch marker
- Sewing Needle
- Scissors
- 12 mm safety eyes (optional)
Abbreviations:
- Ch – chain
- Dc – double crochet
- Dc2tog – double crochet 2 stitches together
- SS – slip stitch
Level: Easy
Measurements: Bright Bear measures approximately 27 cm tall.
Notes
- This pattern is written using UK crochet terminology.
- This pattern is worked using the amigurumi method. Work stitches continuously in a spiral without closing off each round with a slip stitch. You may find it easier to mark the first stitch of the round, moving the marker up as you work.
- Rounded brackets ( ) indicate the pattern and the number of times it is repeated. For example, (Dc in next sts, 2dc in next st) 6 times. This means double crochet one stitch, increase by double crocheting in the next stitch twice. This instruction should be repeated 6 times.
- Square brackets [ ] indicate the number of stitches you have after each round/row.
Decreasing rounds
You may prefer to use an invisible decrease, this technique will give your finished creation a neater appearance.
- To do this insert your hook into the front loop of the first stitch, then insert your hook into the front loop of the second stitch.
- Yarn over hook and pull through the first 2 loops on your hook.
- Yarn over hook and pull through the remaining 2 loops on your hook to complete the stitch.
If you would like a printable version of this pattern you can download it for a small fee from Lovecrafts or Ravelry.
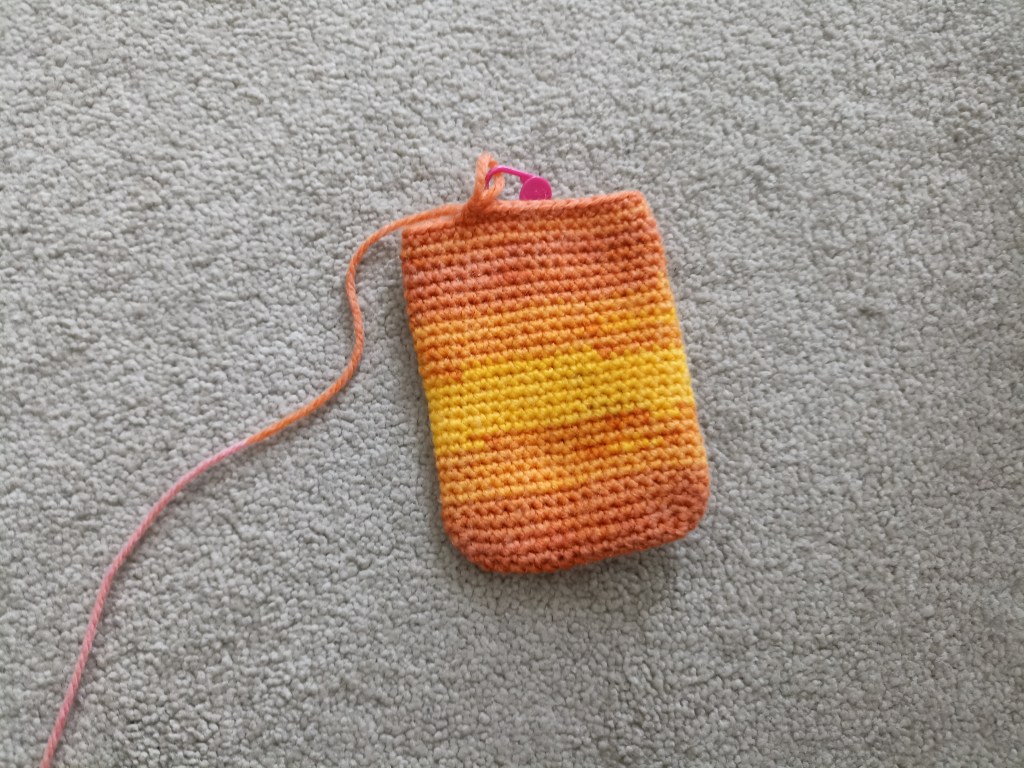
Body
Chain 15 stitches.
Round 1 (RS) Ch1 (does not count as a stitch throughout), dc 2nd ch from hook, dc in next 12 sts, 3 dc, dc in next 12 sts, 2 dc. [30 sts]
Round 2 2dc, dc in next 12 sts, 2 dc, 1 dc, 2 dc, dc in next 12 sts, 2 dc, 1 dc. [34 sts]
Round 3 2dc, dc in next 14 sts, 2 dc, 1 dc, 2 dc, dc in next 14 sts, 2 dc, 1 dc. [38 sts]

Round 4 – 27 Dc in each stitch around.
Round 28 (Dc in next 17 sts, dc2tog) repeat twice. [36 sts]
Round 29 (Dc in next 4 sts, dc2tog) repeat 6 times. [30 sts]
Firmly stuff the body
Round 30 (Dc in next 3 sts, dc2tog) repeat 6 times. [24 sts]
Round 31 (Dc in next 2 sts, dc2tog) repeat 6 times. [18 sts]
Round 32 – 34 Dc in each stitch around.
Round 35 2dc in each st around. [36 sts]
Round 36 (Dc in next 5 sts, 2dc in next st) repeat 6 times. [42 sts]
Round 37 – 50 Dc in each stitch around.
Firmly stuff the neck.
12 mm eyes placed between round 45/46.
Round 51 (Dc in next 5 sts, dc2tog) repeat 6 times. [36 sts]
Round 52 (Dc in next 4 sts, dc2tog) repeat 6 times. [30 sts]
Round 53 (Dc in next 3 sts, dc2tog) repeat 6 times. [24 sts]
Round 54 (Dc in next 2 sts, dc2tog) repeat 6 times. [18 sts]
Firmly stuff the head.

Round 55 (DC in next st, dc2tog) repeat 6 times. [12 sts]
Round 56 (Dc2tog) repeat 6 times. [6 sts]
Fasten off. Weave in loose ends.
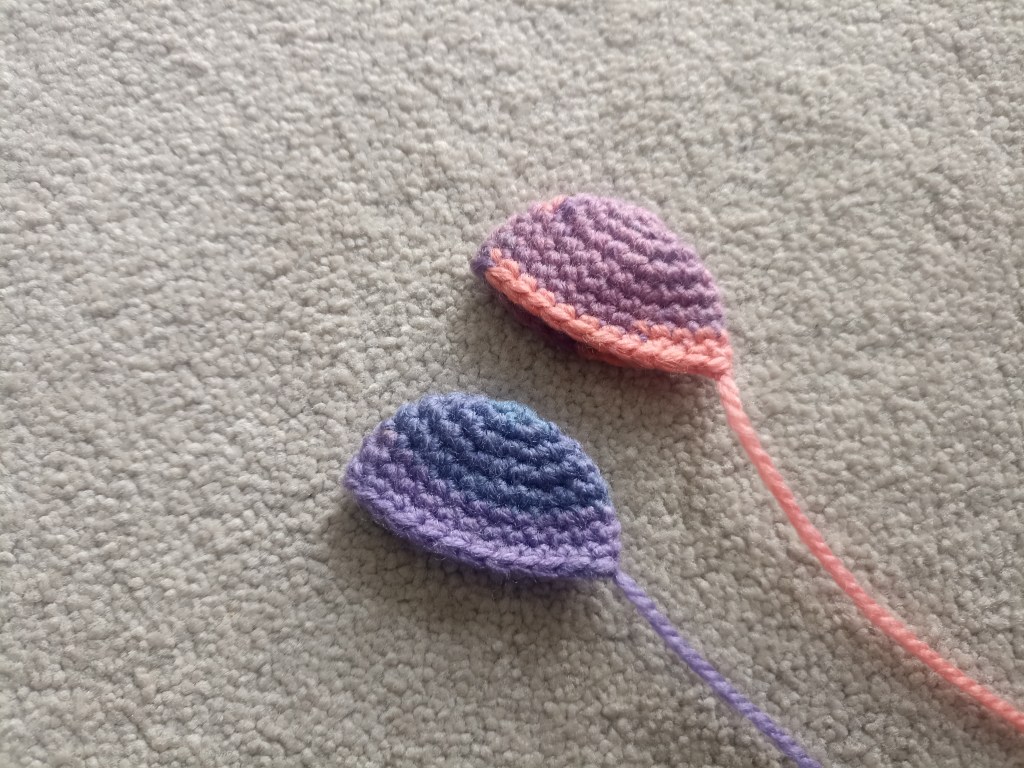
Ears (make 2)
Make a magic loop.
Round 1 (RS) Ch1, 6dc in loop. [6 sts]
Round 2 2dc in each stitch around. [12 sts]
Round 3 (Dc in next st, 2dc in the next st) repeat 6 times. [18 sts]
Round 4 (Dc in next 2 sts, 2dc in the next st) repeat 6 times. [24 sts]
Round 5 – 8 Dc in each stitch around.
Fasten off. Leave a long tail to sew the ear onto the body.

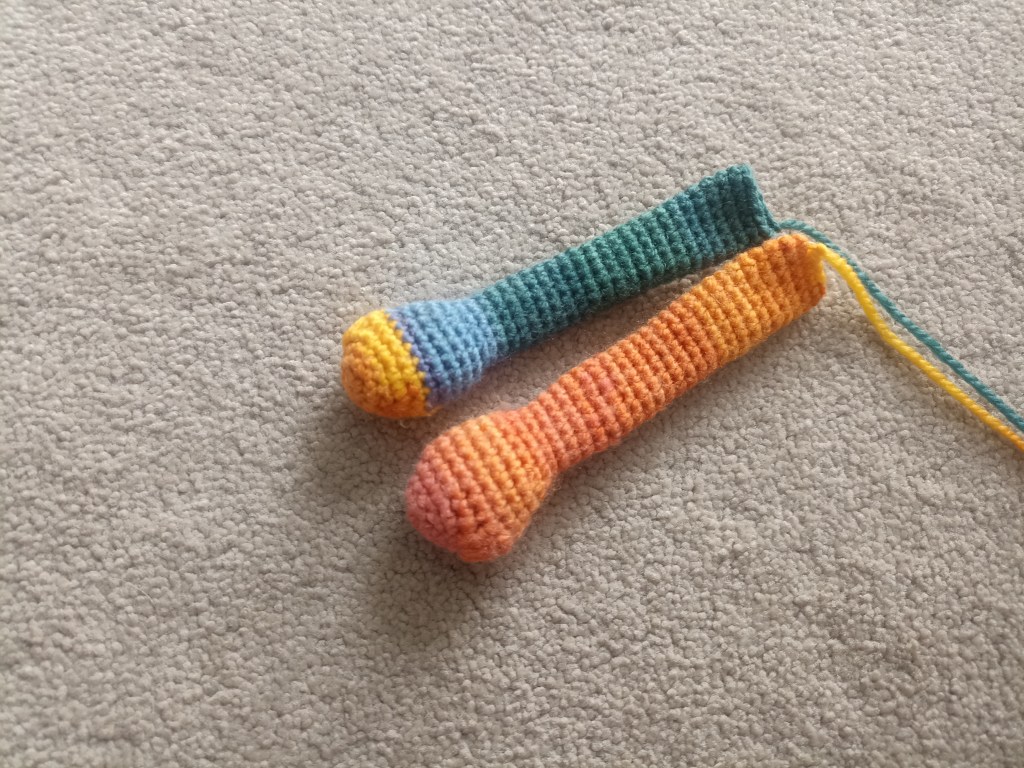
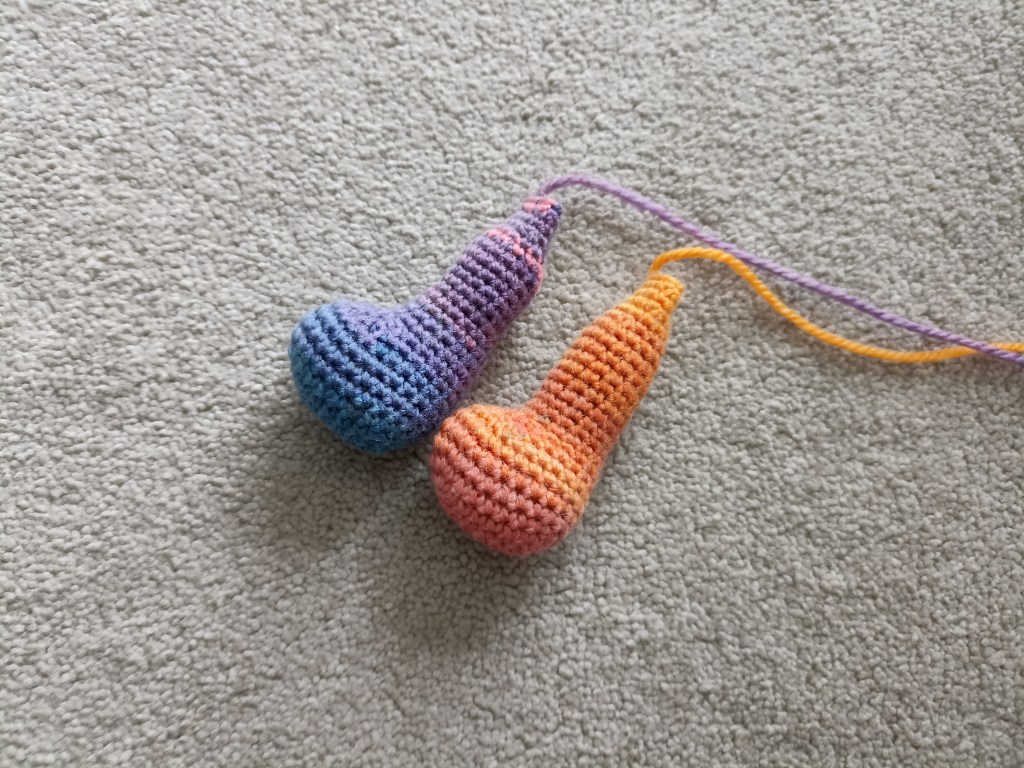
Arms (make 2)
Make a magic loop.
Round 1 (RS) Ch1, 6dc in loop. [6 sts]
Round 2 2dc in each stitch around. [12 sts]
Round 3 Dc in each stitch around.
Round 4 (Dc in next st, 2dc in the next st) repeat 6 times. [18 sts]
Round 5 Dc, 2tr, 2tr, dc in next 15 sts. [20 sts]
Round 6 Dc in each stitch around.
Round 7 Dc, dc2tog, dc2tog, dc in next 15 sts. [18 sts]
Round 8 – 9 Dc in each stitch around.
Round 10 (Dc in next 4 sts, dc2tog) 3 times. [15 sts]
Round 11 (Dc in next 3 sts, dc2tog) repeat 3 times. [12 sts]
Round 12 – 35 Dc in each stitch around.
Fasten off. Leave a long tail to sew the arm onto the body.
Legs (make 2)
Chain 7 stitches.
Round 1 (RS) Dc 2nd ch from hook, dc in next 4 sts, 3 dc, dc in next 4 sts, 2 dc. [14 sts]
Round 2 2 dc, dc in next 4 sts, 2 dc in next 3 sts, dc in next 4 sts, 2 dc, dc. [19 sts]
Round 3 Dc, 2 dc, dc in next 5 sts, 2 dc, dc, dc, 2 dc, dc in next 6 sts, 2 dc, dc. [23 sts]

Round 4 Dc in next 9 sts, 2 dc in next 4 sts, dc next 10 sts. [27 sts]
Round 5 – 8 Dc in each stitch around.
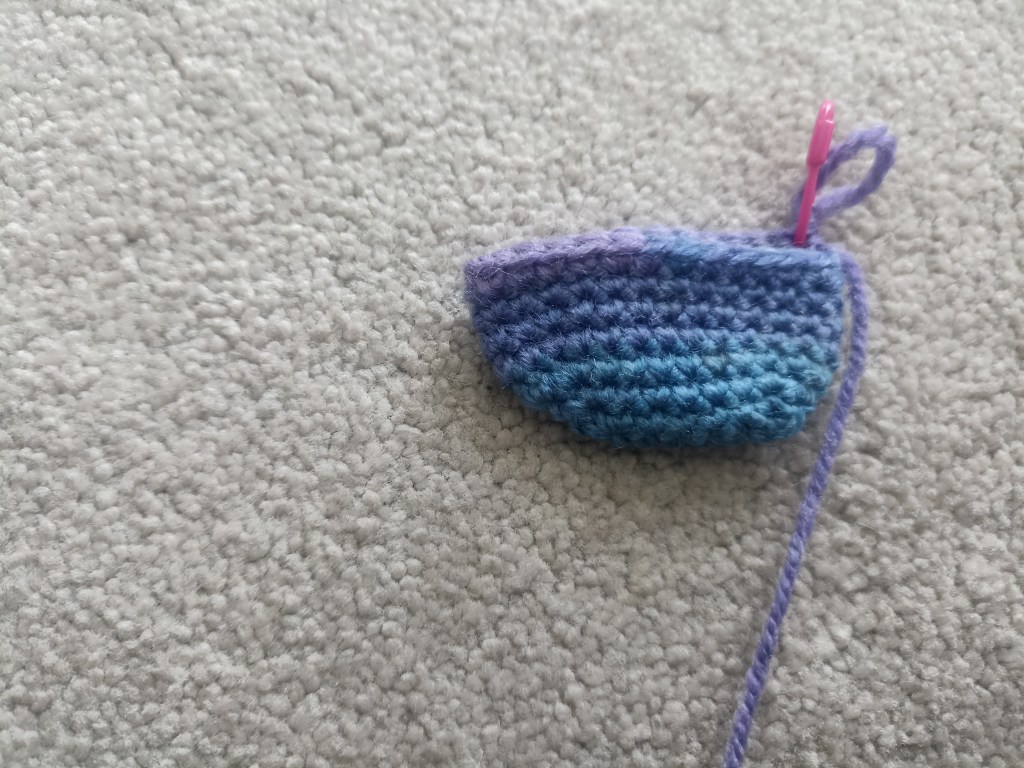
Round 9 Dc in next 7 sts, (dc2tog) 7 times, dc in next 6 sts. [20 sts]
Round 10 Dc in next 6 sts, (dc2tog) 4 times, dc in next 6 sts. [16 sts]
Round 11 – 20 Dc in each stitch around.
Round 21 Dc in next 7 sts, dc2tog, dc in next 7 sts. [15 sts]
Round 22 DC in each stitch around.
Round 23 Dc in next 6 sts, dc2tog, dc in next 7 sts. [14 sts]
Round 24 Dc each stitch around.
Round 25 Dc in next 6 sts, dc2tog, dc in next 6 sts. [13 sts]
Fasten off. Leave a long tail to stitch the leg to the body.
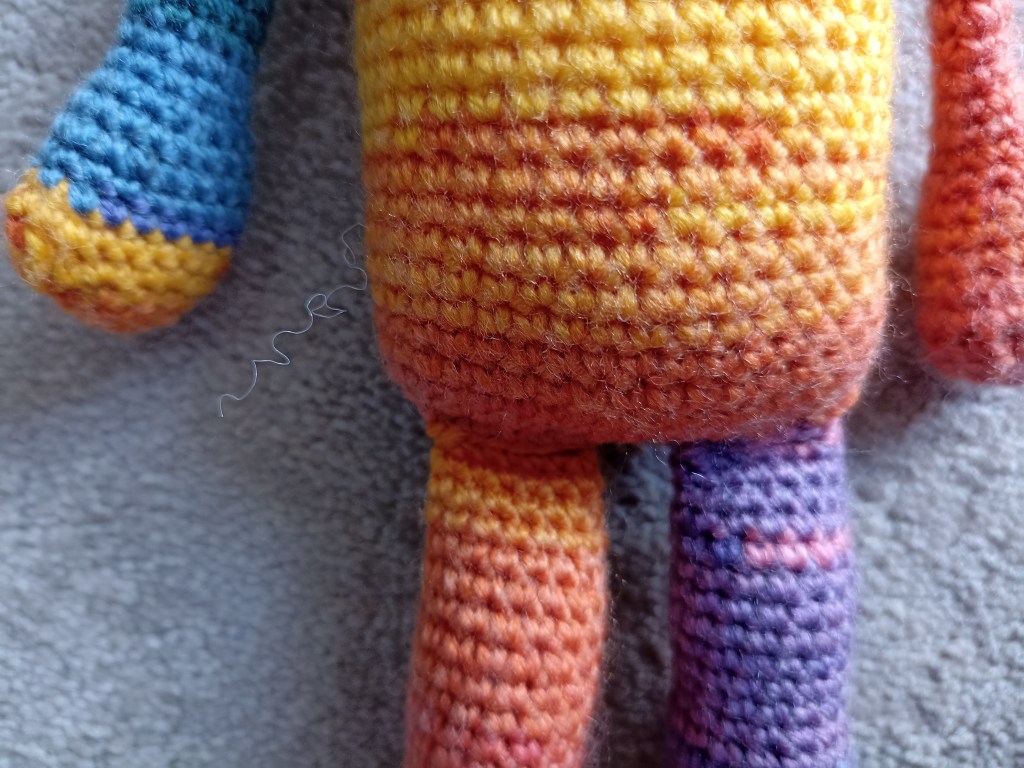
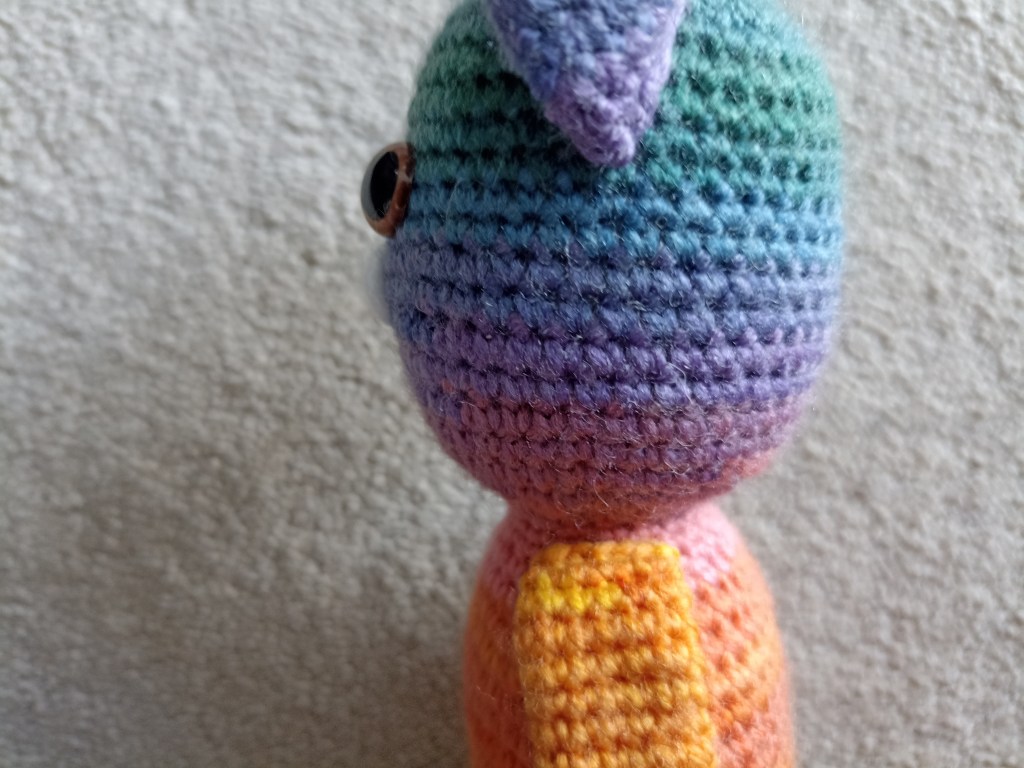
- Pictures at the end of the pattern are provided as a guide to help you.
- The body is worked from bottom to top, rounds are counted from bottom to top when placing eyes and arms.
- 12 mm eyes placed between round 45/46.
- Stuff the hands of the bear, do not stuff the arms.
- Fold the arms so they are flat and stitch them between rounds 30 and 32 just below the neck of the bear.
- Firmly stuff the feet and legs of the bear. The legs are folded at the top and stitched to the base of the bear body.
- Use contrasting yarn to stitch a small nose and mouth to finish your bear.
I hope you enjoy using this pattern to create your own magical character. If you have any questions or would like to share with me what you have made you can get in touch here – Say Hello
I would love to see your makes, tag me on social media using these hashtags.
- #pixieandbumble
- #isleofneverwas
- #SamanthaOsmond
If you would like a printable version of this pattern you can download it for a small fee from Lovecrafts or Ravelry
